Introduction
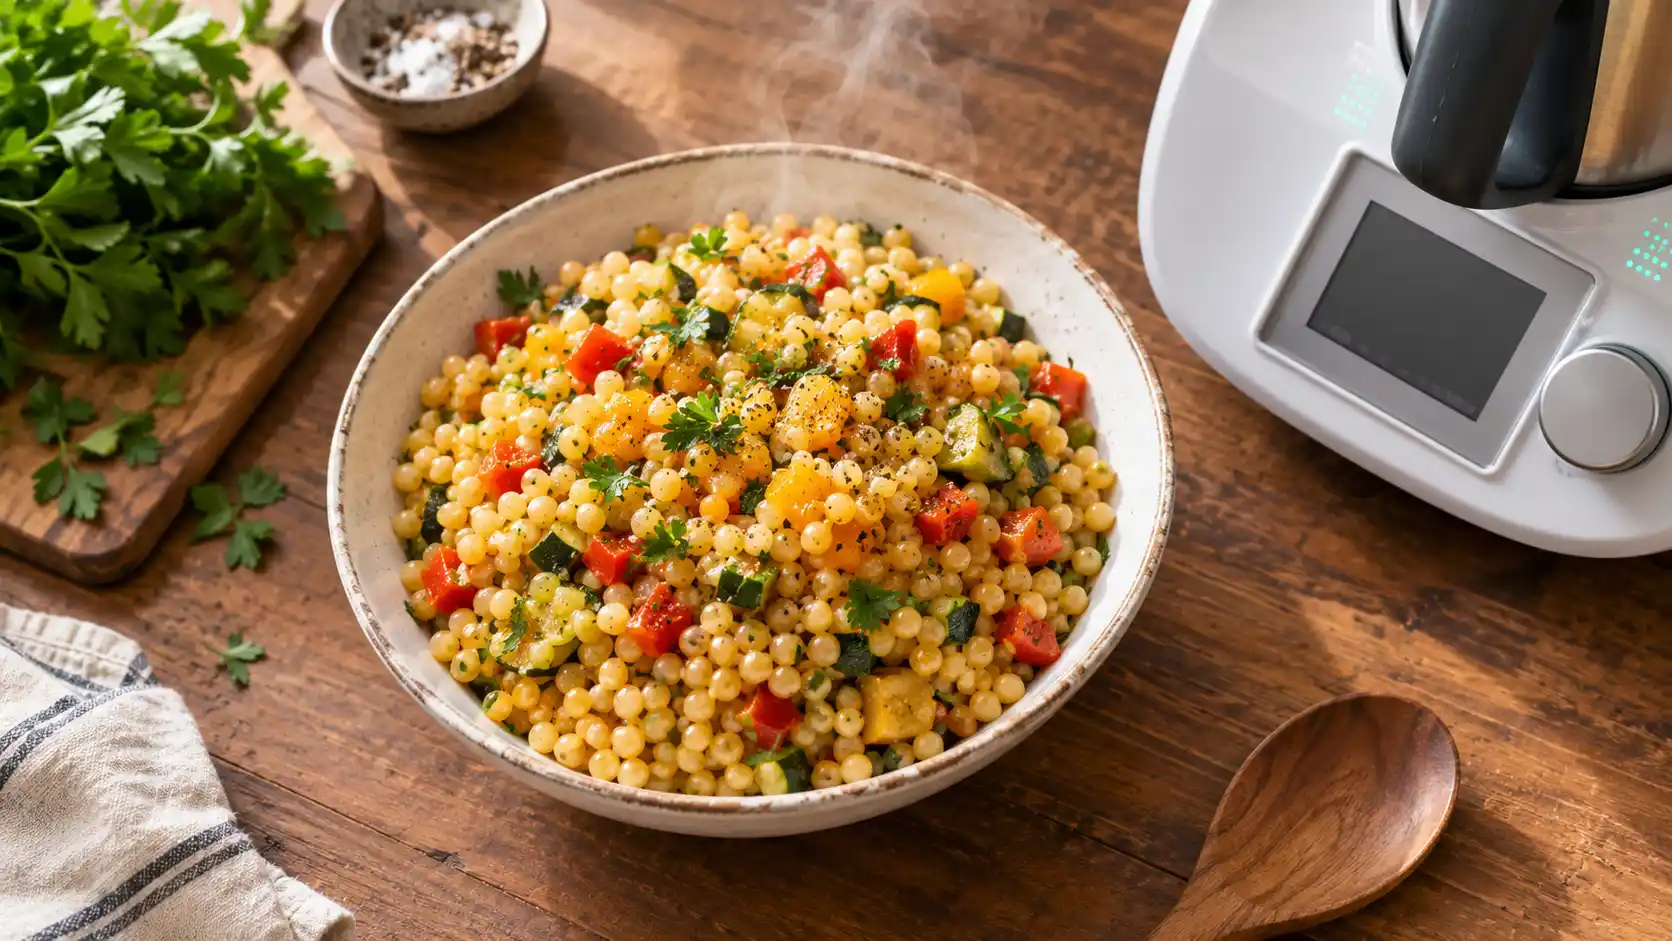
Pearl couscous, also called Israeli couscous or giant couscous, is a toasted semolina pasta shaped into small round pearls rather than the tiny granules used in traditional couscous. Cooking it in a Thermomix simplifies the process because the machine controls temperature and timing precisely, removing the guesswork of stovetop simmering. This article explains exactly how pearl couscous behaves in a Thermomix, what ingredients and ratios produce the best texture, and how to build both simple and more elaborate dishes — including chicken variations and Moroccan-style preparations — from the same base method.
Quick Summary
Pearl couscous cooks in a Thermomix using a simple absorption method: toast briefly if desired, add liquid at a roughly 1:1.2 couscous-to-water ratio, and cook at 100°C on a low speed setting for about 8–10 minutes, or use the steaming basket over simmering liquid for a firmer bite. The result is a chewy, slightly nutty pearl that holds its shape well in salads, warm sides, and chicken-based main dishes.
What Is Pearl Couscous and How It Differs From Regular Couscous
Regular couscous is made from finely rolled semolina granules and cooks almost instantly by simply absorbing hot liquid off the heat. Pearl couscous is a different product: the semolina is shaped into small spheres, often lightly toasted during production, which gives it a firmer bite and a longer cook time — closer to that of a small pasta shape than a grain. This structural difference matters for Thermomix cooking, because pearl couscous needs sustained heat and enough liquid volume to fully hydrate the center of each pearl, whereas standard couscous only needs a brief soak.
Ingredients You Need for Pearl Couscous in the Thermomix
A basic batch requires only a few components: pearl couscous, water or stock, a small amount of olive oil, and salt. Using stock instead of water adds background flavor without extra steps, since the Thermomix absorbs the liquid directly into the pearls during cooking. Aromatics such as a garlic clove, a bay leaf, or a strip of lemon zest can be added to the cooking liquid to infuse flavor as the couscous cooks, then removed before serving.
How to Cook Pearl Couscous in the Thermomix (Step-by-Step)
There are two reliable Thermomix methods for pearl couscous: the absorption method and the steaming-basket method.
For the absorption method, place the measured water or stock, a pinch of salt, and a drizzle of oil into the mixing bowl, then add the pearl couscous directly. Cook at 100°C, speed 1, using the reverse blade direction if the model supports it, for about 8–10 minutes, until the liquid is absorbed and the pearls are tender with a slight chew at the center.
For the steaming-basket method, bring seasoned water to a simmer in the mixing bowl, then place the couscous in the Varoma dish or steaming basket above it, covered, for roughly 10–12 minutes. This method produces slightly firmer, more separate pearls, which works well for salads where individual grains matter more than a soft, unified texture.
Timing, Water Ratios, and Texture Control

The standard ratio for pearl couscous is about 1 cup of couscous to 1.25 cups of liquid, though this can be adjusted depending on desired texture. A tighter ratio, closer to 1:1, produces firmer, more distinct pearls suited to salads. A looser ratio, closer to 1:1.5, produces a softer, more absorbent result suited to warm side dishes. Because the Thermomix heats evenly and holds a consistent temperature, results are more repeatable than stovetop cooking, where uneven heat can leave some pearls undercooked while others turn mushy.
Simple Pearl Couscous Recipe (Base Method)
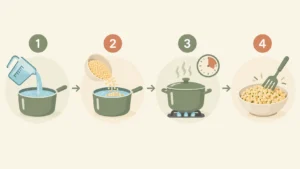
This base recipe produces a neutral pearl couscous that can be seasoned afterward or used as the foundation for the chicken and salad variations below.
Ingredients: 250g pearl couscous, 310g water or vegetable stock, 1 tablespoon olive oil, ½ teaspoon salt.
Method: Add the water, oil, and salt to the mixing bowl. Add the couscous. Cook 9 minutes, 100°C, speed 1, reverse. Fluff with a spatula and let rest, uncovered, for 2–3 minutes before serving or cooling for a salad.
Chicken and Pearl Couscous Thermomix Variation
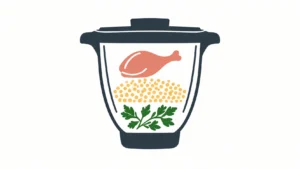
For a complete meal, diced chicken thigh can be browned first using the Thermomix’s sauté function, then set aside while the couscous cooks in the same bowl, absorbing any residual flavor left behind. Once the couscous is tender, the chicken is folded back in along with herbs such as parsley or dill. This one-bowl approach means the couscous effectively becomes a pilaf, taking on the savory notes from the browned chicken and any aromatics used earlier in the cook.
Moroccan-Style Chicken and Couscous
A Moroccan-style version builds on the chicken variation by introducing warm spices — cumin, cinnamon, paprika, and a touch of ground ginger — along with dried apricots or raisins and a handful of toasted almonds. The spices are typically bloomed briefly with the chicken before the liquid and couscous are added, which allows the Thermomix’s steady heat to draw the spice flavor through the entire dish rather than leaving it concentrated at the surface. A squeeze of lemon and fresh coriander at the end brightens the richer, spiced flavors.
Pearl Couscous Salad Ideas and Add-Ins
Once cooled, pearl couscous becomes a sturdy base for salads because the pearls hold their shape rather than clumping. Common additions include diced cucumber, cherry tomatoes, red onion, crumbled feta, and a lemon-olive oil dressing. For a heartier salad, roasted vegetables, chickpeas, or the Moroccan-style chicken above can be folded through cold or at room temperature. Herbs such as mint or parsley add freshness that balances the couscous’s chew.
Storage and Reheating
Cooked pearl couscous keeps well in an airtight container in the refrigerator for up to four days. For warm dishes, reheating gently with a splash of water or stock in the Thermomix at 100°C for one to two minutes restores moisture without overcooking the pearls. Salad-style couscous is best kept cold and does not need reheating; a fresh drizzle of oil or dressing before serving refreshes the texture if it has firmed up in the fridge.
Common Mistakes and How to Avoid Them

The most common issue is using too little liquid, which leaves the centers of the pearls hard and chalky. Another frequent mistake is skipping the rest period after cooking, which can leave the couscous gummy since residual steam has not had time to finish evenly distributing moisture. Stirring too vigorously during cooking can also break the pearls or make the dish stick together; a gentle fold or reverse-blade setting preserves the individual shape better than a standard forward mix.
Conclusion
Pearl couscous adapts well to Thermomix cooking because the appliance’s precise temperature control removes much of the unpredictability of stovetop methods. A basic absorption method produces a reliable base, which can then be extended into chicken-based main dishes, spiced Moroccan-style versions, or cold salads simply by adjusting the liquid, aromatics, and add-ins. Once the base ratios and timing are understood, pearl couscous becomes a flexible component for both quick weeknight dinners and make-ahead salads.
FAQ
How long does it take to cook pearl couscous in a Thermomix? Pearl couscous typically takes 8–10 minutes using the absorption method at 100°C, or 10–12 minutes using the steaming basket over simmering liquid.
What is the best water-to-couscous ratio in a Thermomix? A ratio of about 1 cup couscous to 1.25 cups liquid works well for most dishes; a tighter ratio suits salads and a looser ratio suits soft, warm sides.
Can pearl couscous be made ahead for salads? Yes. Cooking it slightly firmer, cooling it fully, and storing it in an airtight container for up to four days makes it well suited to make-ahead salads.
Does pearl couscous need to be toasted before cooking? Most pearl couscous is pre-toasted during processing, so additional toasting is optional and mainly adds a deeper nutty flavor rather than being required for cooking.