Introduction
A Thermomix vegetarian curry is a plant-based curry prepared using the Thermomix’s combined chopping, sautéing, and simmering functions, which allows spices, vegetables, and a liquid base such as coconut milk to cook together in one bowl with precise temperature and timing control. Unlike stovetop curries, which require moving between a chopping board, a pan, and a separate simmering pot, the Thermomix consolidates each stage — from onion and garlic preparation to the final simmer — into a single vessel, reducing both hands-on time and the risk of scorching spices at high heat.
This article explains how a Thermomix vegetarian curry works at each stage, what distinguishes an Indian-style curry from a Thai green curry, why coconut milk behaves differently from other liquid bases, and how ingredient and equipment choices change the final texture and flavor.
Quick Summary
- A Thermomix vegetarian curry typically layers aromatics, spices, vegetables or legumes, and a liquid base, using the machine’s varoma or normal speed settings to control texture at each stage.
- Coconut milk adds richness and mellows spice intensity, while tomato- or stock-based liquids produce a sharper, more acidic profile.
- Indian-style curries rely on toasted whole and ground spices; Thai green curry relies on a blended fresh herb-and-chili paste — the two techniques are not interchangeable.
- Chickpeas and other legumes need pre-cooking or canned preparation, since the Thermomix’s curry-simmer stage is too short to soften dried, unsoaked chickpeas fully.
- Overcooking vegetables in the final simmer is the most common cause of a mushy, watery curry.
What Makes a Thermomix Vegetarian Curry Different
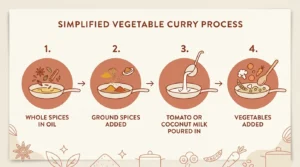
The defining feature of a Thermomix vegetarable curry is sequence control. The machine allows onions, garlic, and ginger to be finely chopped by pulsing the blades, then sautéed at a set temperature (commonly 100°C, Reverse setting, low speed) without a separate pan. This matters because browning aromatics before adding liquid develops deeper flavor compounds through the Maillard reaction; skipping this step, or adding liquid too early, results in a flatter-tasting curry base. Spices are typically toasted briefly at this stage too, since dry or oil-toasted spices release more aromatic oils than spices added directly to a simmering liquid.
Choosing the Right Vegetables and Legumes
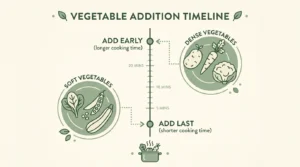
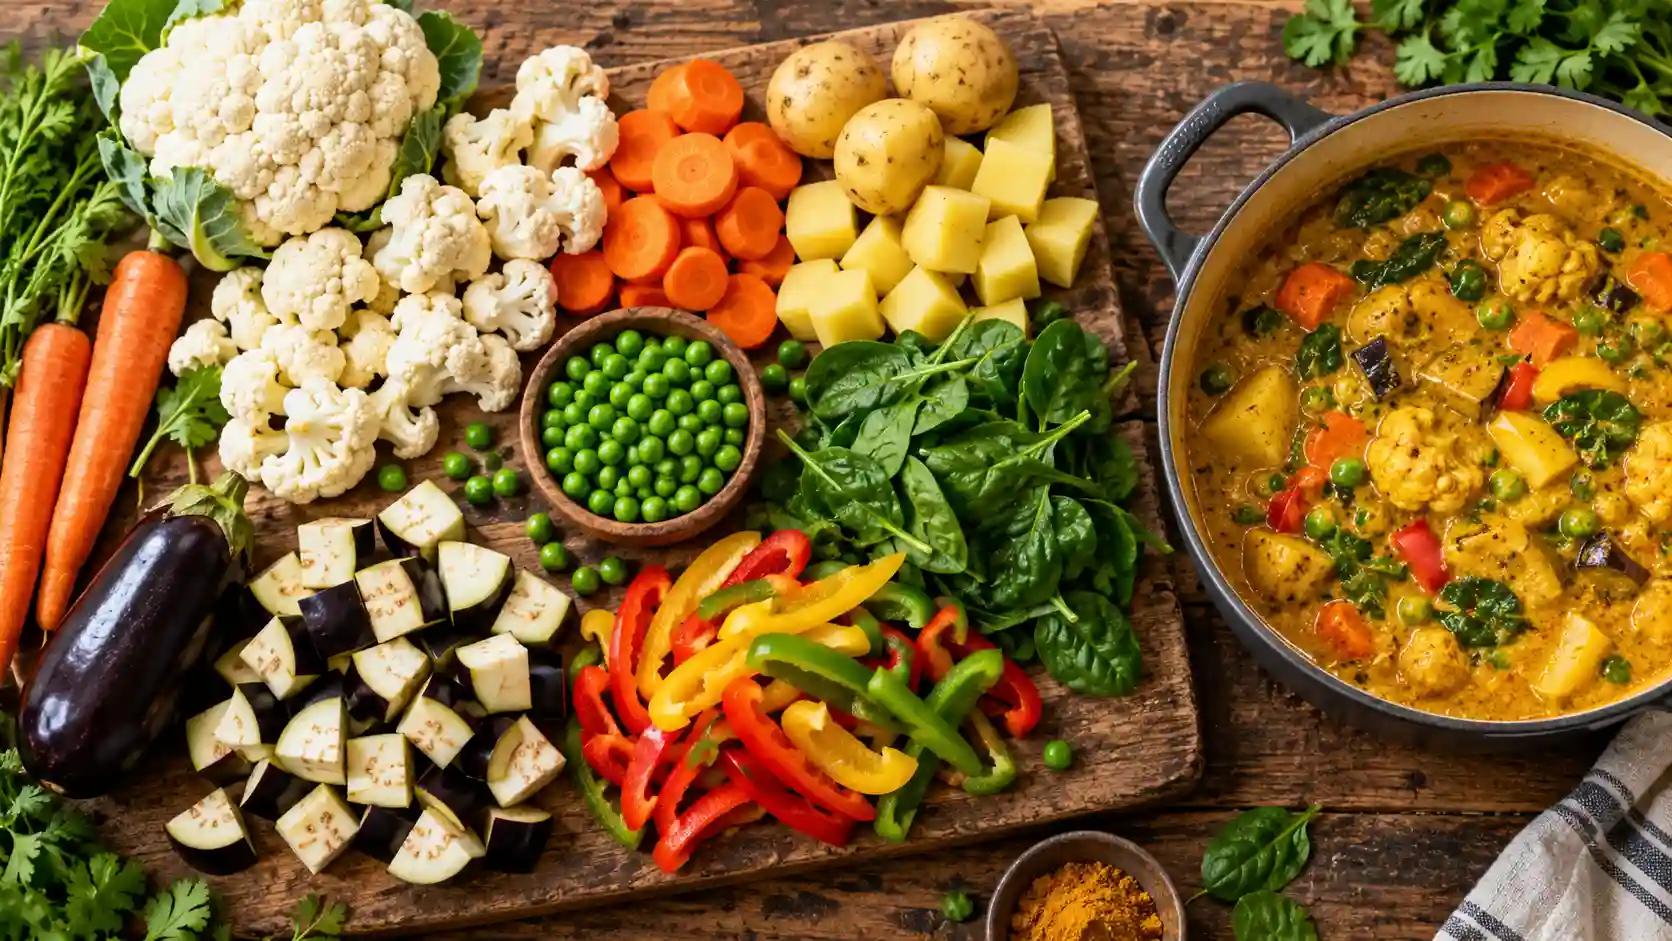
Vegetable choice affects both cooking time and final texture. Dense vegetables such as potatoes, carrots, and cauliflower need longer simmer times and benefit from being cut into smaller, uniform pieces so they cook at the same rate. Softer vegetables — spinach, peas, or zucchini — are best added in the final few minutes, since prolonged simmering breaks down their structure and turns them mushy. For legume-based vegetable curry recipes, canned or pre-cooked chickpeas and lentils are preferred over dried, unsoaked ones, because the Thermomix’s typical curry simmer time (15–25 minutes) is not long enough to fully soften dried legumes without pre-soaking or pressure-cooking.
Coconut Milk vs. Other Curry Bases
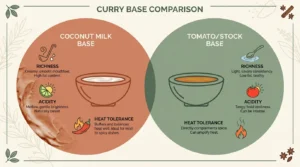
Coconut milk is the most common base for a Thermomix vegetarian curry with coconut milk because its fat content coats the palate, softening the perceived heat of chilies and balancing acidic ingredients like tomato. Full-fat coconut milk produces a creamier, more stable sauce; light coconut milk thins the sauce and can cause it to separate slightly during prolonged cooking. Tomato- or vegetable-stock-based curries, by contrast, produce a thinner, more acidic sauce that pairs well with heartier spice blends but lacks the same richness. Substituting one base for another changes not just flavor but also cooking behavior — coconut milk-based curries tolerate slightly higher heat before scorching, while dairy-free cream alternatives can curdle if boiled too vigorously.
Building an Indian-Style Vegetable Curry in the Thermomix
An Indian vegetable curry thermomix recipe generally follows this sequence: chop aromatics, sauté with whole spices such as cumin seeds and mustard seeds, add ground spices (turmeric, coriander, garam masala) briefly to toast, then add chopped tomatoes or coconut milk along with the vegetables. The Thermomix’s Reverse function is used at this stage to stir gently without pulverizing the vegetable pieces, which is important because forward blade rotation at speed can shred vegetables rather than simmer them intact. Simmering is typically done at 100°C for 15–20 minutes, with the lid’s measuring cup removed or the Varoma attachment used to allow steam to escape and the sauce to thicken.
Thai Green Curry: A Different Flavor Route
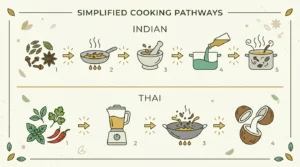
A vegetarian Thai green curry thermomix recipe uses a fundamentally different technique from an Indian curry. Instead of toasting whole spices, a green curry paste is blended first — typically green chilies, lemongrass, galangal, garlic, shallots, and coriander root — then fried briefly in the Thermomix before coconut milk and vegetables are added. This paste-based method concentrates flavor before any liquid is introduced, so the aromatics infuse the coconut milk directly rather than building flavor through a spice-toasting stage. Using an Indian spice sequence for a Thai curry (or vice versa) produces a muddled flavor profile, since the two cuisines rely on different flavor-building mechanisms — dry spice toasting versus fresh herb-paste frying.
Chickpea Curry with Coconut Milk: A Protein-Rich Variation
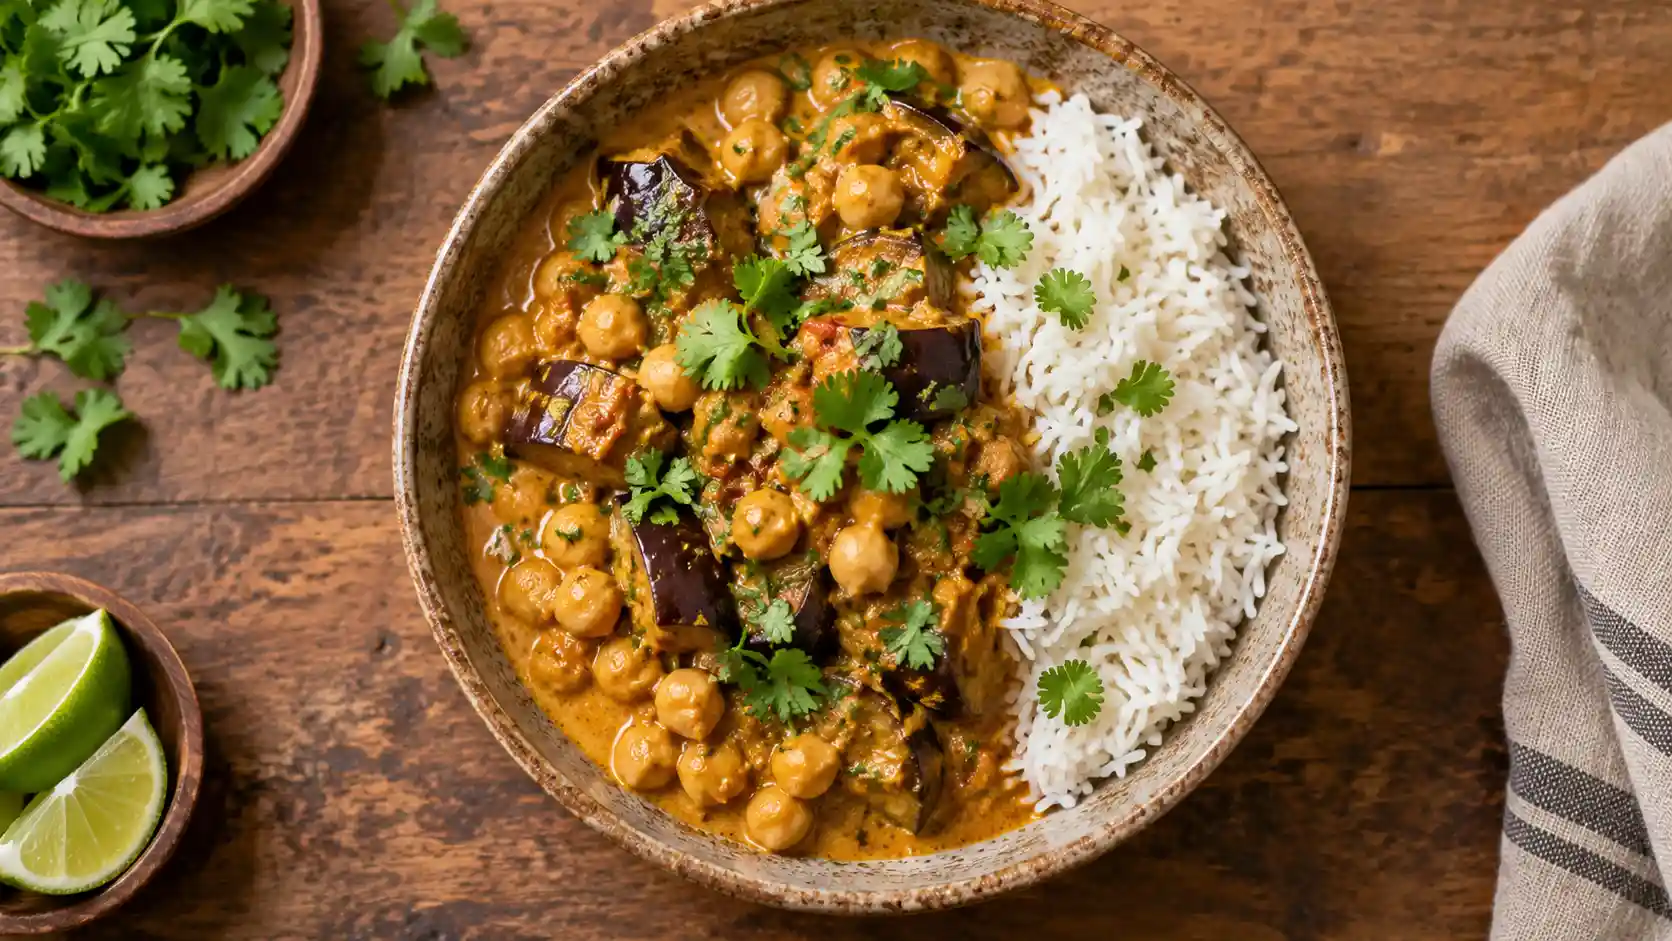
A thermomix chickpea curry with coconut milk recipe follows the same aromatic-and-simmer structure as a standard vegetable curry, but chickpeas are added earlier in the simmer stage since they hold their shape well under longer cooking and absorb spice flavor more slowly than soft vegetables. Using canned, drained chickpeas shortens overall cooking time and produces a firmer bite; dried chickpeas that have been soaked overnight and pre-cooked separately give a creamier texture but require additional preparation outside the Thermomix.
Common Mistakes and How to Avoid Them
The most frequent issue in a Thermomix vegetable curry is overcooking soft vegetables while dense ones remain underdone, which happens when all vegetables are added simultaneously regardless of density. A second common mistake is adding ground spices directly to a cold or liquid base rather than toasting them briefly in oil first, which mutes their aroma. A third is using forward blade speed instead of Reverse during the simmer stage, which can mash vegetables into the sauce rather than leaving them intact.
Storage, Reheating, and Make-Ahead Tips
A finished vegetarian curry typically keeps for three to four days refrigerated in an airtight container, and coconut milk-based curries generally reheat well since their fat content prevents the sauce from breaking. Reheating gently on the stovetop or in the Thermomix at a lower temperature (around 90°C) helps prevent the sauce from splitting. Curries without dairy or coconut milk, such as tomato-based vegetable curries, also freeze well for up to two months; coconut milk curries can be frozen but may separate slightly on thawing, which is usually resolved by stirring while reheating.
Conclusion
A Thermomix vegetarian curry succeeds when ingredient density, spice sequencing, and liquid base are matched to the style of curry being made — Indian, Thai, or a simple vegetable-and-chickpea version. Understanding why aromatics are sautéed before liquid is added, why soft vegetables go in last, and how coconut milk behaves differently from tomato or stock bases allows for reliable results across variations, rather than following a single fixed recipe.
FAQ
Can I make a Thermomix vegetarian curry vegan? Yes — using coconut milk instead of dairy cream and confirming that any stock or paste used contains no animal products makes most vegetable curry recipes fully vegan.
Do I need to pre-cook chickpeas before adding them to a Thermomix curry? Canned chickpeas can be added directly; dried chickpeas should be soaked and pre-cooked separately, since the Thermomix’s simmer stage isn’t long enough to soften them from raw.
What’s the difference between an Indian and a Thai curry in the Thermomix? Indian curries build flavor by toasting whole and ground spices before adding liquid; Thai curries rely on a blended fresh paste of chilies, lemongrass, and aromatics fried briefly before coconut milk is added.
Why did my Thermomix curry turn out watery? This usually happens when the lid’s measuring cup is left in place during simmering, trapping steam that would otherwise allow the sauce to reduce and thicken.
Can I use light coconut milk instead of full-fat? Yes, but the sauce will be thinner and slightly more prone to separating during longer simmer times.