Introduction
Vegetable soup is one of the most forgiving dishes in home cooking, and the Thermomix makes it even more approachable by combining chopping, sautéing, and simmering in a single bowl. Instead of juggling a knife, a pot, and a stove, the machine handles the heating and stirring while precise settings control texture and doneness. This guide explains how the appliance changes the process, what happens at each stage, and how small adjustments — like blending time or vegetable size — determine whether the final soup turns out chunky, silky, or somewhere in between.
Quick Summary
A basic Thermomix vegetable soup involves sautéing aromatics, adding chopped vegetables and stock, then cooking at a controlled temperature for around 25–30 minutes. Texture is decided at the end: leave it as is for a chunky soup, blend briefly for a rustic consistency, or blend fully with a starchy vegetable or splash of cream for a smooth, velvety result. The same base method adapts easily to chicken, beef, lentil, barley, or roasted-vegetable variations by swapping or adding one or two ingredients.
Why the Thermomix Changes How Vegetable Soup Is Made
In a conventional pot, chopping, sautéing, and simmering happen as separate steps, each needing attention to avoid scorching or uneven cooking. A Thermomix condenses this because its blade can chop vegetables directly in the bowl, and its heating element maintains a steady, programmable temperature while the built-in stirring function (or intermittent blending) keeps ingredients moving. This reduces the risk of the bottom layer catching, which is the most common cause of a bitter or scorched-tasting soup made on a stovetop. It also means the same bowl carries the dish from raw ingredients to finished soup without transferring pots.
Choosing a Texture: Chunky, Blended, or Creamy
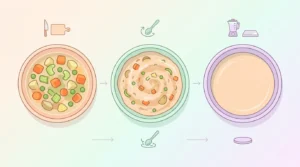
Texture in vegetable soup comes down to how much blending happens and when.
- Chunky soup keeps vegetable pieces mostly intact. This works best when vegetables are cut to a similar size before cooking, since uneven pieces cook at different rates and can leave some parts mushy while others stay firm.
- Blended soup purées some or all of the mixture after cooking. A short blend (a few seconds) breaks vegetables down while leaving visible texture, which suits a rustic, home-style presentation.
- Creamy soup is fully blended, often with the addition of a starchy vegetable such as potato, or a small amount of cream or milk. The starch or fat coats the palate and thickens the liquid, giving the soup body without needing flour or cornstarch as a thickener.
Choosing between these isn’t just aesthetic — chunky soups retain more fiber structure and a heartier bite, while blended versions are easier for young children or anyone with chewing difficulty to eat.
Core Ingredients and How They Behave in the Bowl
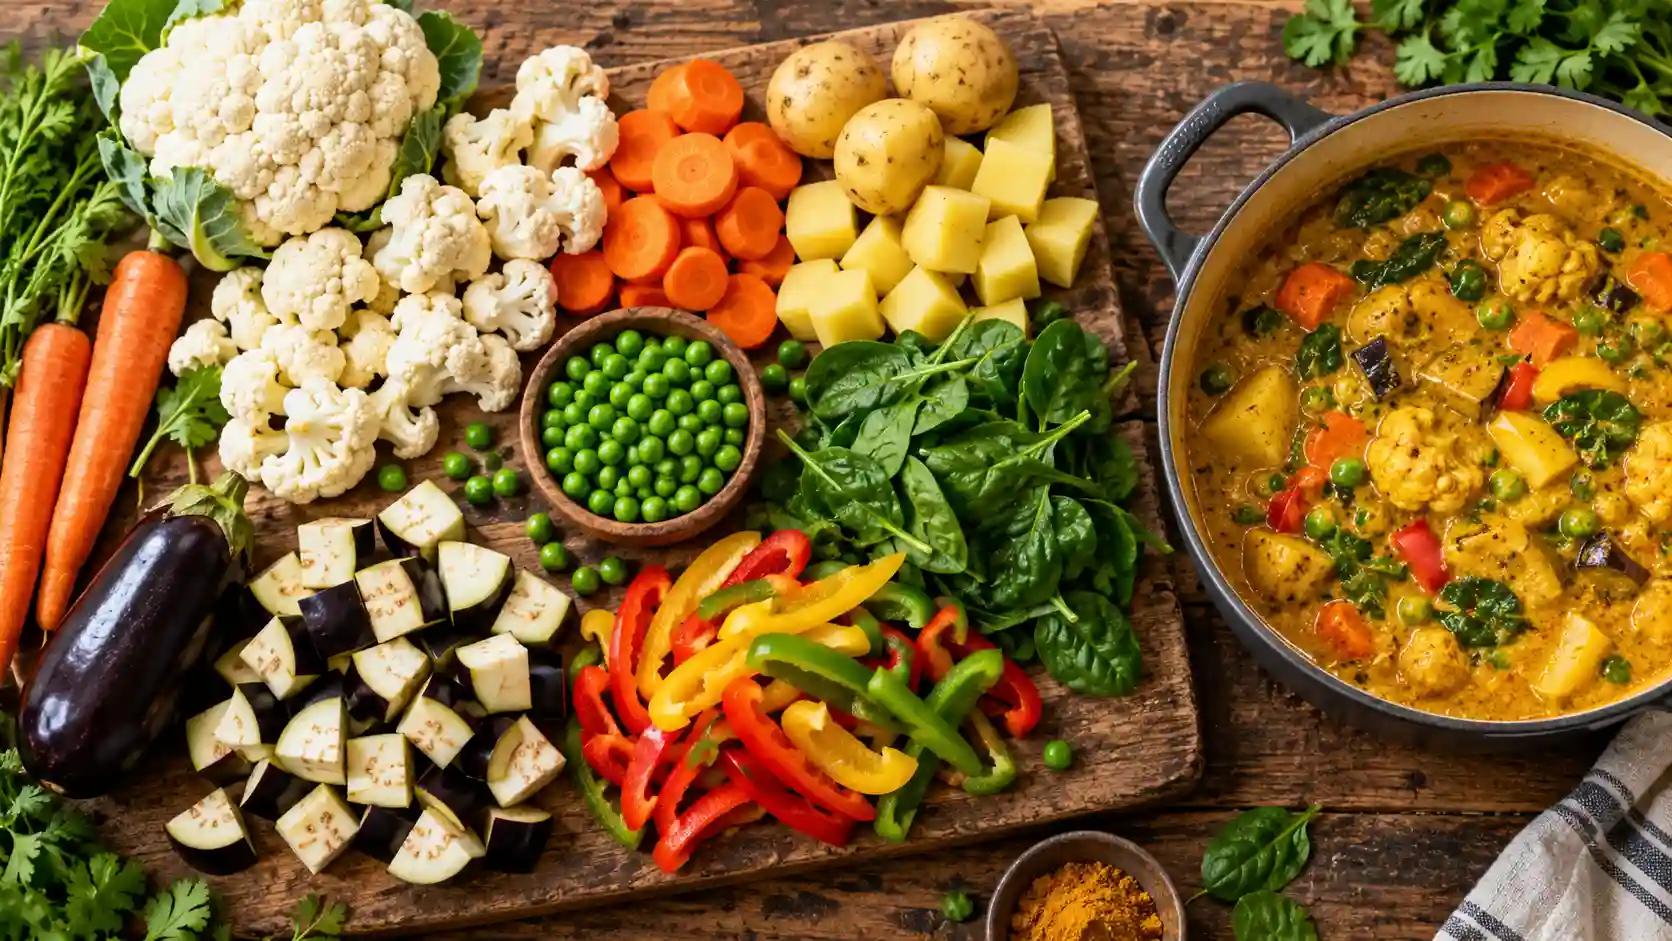
- Onion, carrot, and celery form the classic aromatic base; sautéing them briefly before adding liquid develops deeper flavor by triggering browning reactions that plain simmering doesn’t produce.
- Potato breaks down during cooking and naturally thickens the broth, which is why it’s a common choice for creamy versions without added cream.
- Leafy greens (spinach, kale) should be added near the end of cooking, since prolonged heat causes them to lose color and turn an unappealing olive shade.
- Legumes like lentils add protein and body but require enough liquid and time to soften fully, since undercooked lentils stay firm and slightly chalky.
- Stock (vegetable, chicken, or beef) forms the liquid base and is the main flavor carrier; a stronger stock reduces the need for additional seasoning.
Building the Base Recipe Step by Step
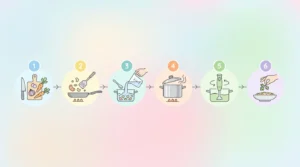
- Sauté the aromatics. Chop onion, garlic, carrot, and celery, then cook briefly with a small amount of oil. This step softens the vegetables and builds a flavor foundation before liquid is added.
- Add the remaining vegetables and stock. Root vegetables go in first since they take longer to soften; quicker-cooking vegetables can be added partway through.
- Cook at a controlled simmer. A moderate temperature for roughly 25–30 minutes allows vegetables to soften evenly without breaking apart prematurely.
- Season. Salt added too early can draw excess moisture from vegetables before they’ve softened, so many cooks season toward the end instead.
- Adjust texture. Blend fully, partially, or not at all, depending on the desired result.
- Finish with fresh herbs. Adding herbs like parsley or thyme after cooking preserves their aroma, which fades quickly under sustained heat.
Popular Variations
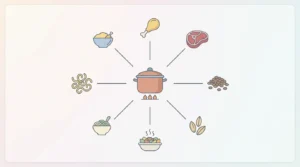
- Chicken and vegetable soup adds cooked, shredded chicken along with the vegetables, turning the dish into a more complete meal; the chicken is usually added toward the end so it doesn’t overcook and turn stringy.
- Beef and vegetable soup typically uses a heartier stock and a longer simmer, since beef and root vegetables both benefit from extended cooking to become tender.
- Vegetable and lentil soup relies on lentils for both texture and plant-based protein, often needing extra liquid since lentils absorb moisture as they cook.
- Vegetable and barley soup uses barley’s chewy texture as a contrast to the softened vegetables, though barley needs longer cooking time than most vegetables.
- Roast vegetable soup starts with vegetables roasted separately before being added to the soup base, which concentrates their natural sugars and produces a deeper, slightly sweeter flavor than boiling alone.
- Vegetable noodle soup adds pasta or noodles near the end of cooking to prevent them from becoming waterlogged and overly soft.
- Vegetable and bacon soup incorporates bacon for a smoky, salty note, usually cooked first so its rendered fat can be used to sauté the aromatics.
Storage and Reheating
Vegetable soup generally keeps well in the refrigerator for three to four days in a sealed container. For longer storage, it freezes well for up to three months, though soups containing potato can develop a slightly grainy texture after freezing and thawing, since the starch structure changes at low temperatures. Reheating gently on low heat, rather than at a rapid boil, helps preserve the texture of any remaining vegetable pieces.
Common Mistakes and How to Avoid Them
- Overcrowding the bowl, which prevents even heat distribution and can leave some vegetables undercooked.
- Adding delicate greens too early, causing discoloration and a muted flavor.
- Skipping the sauté step, which results in a flatter-tasting soup since the browning reactions that build depth never occur.
- Over-blending a chunky soup by accident, which is avoidable by pulsing briefly and checking texture between short bursts rather than blending continuously.
Conclusion
Vegetable soup made with a Thermomix follows the same core logic as stovetop cooking — build flavor with aromatics, cook vegetables until tender, then decide on a final texture — but consolidates the process into fewer steps with more consistent results. Understanding how each ingredient behaves under heat, and when to add it, makes it easy to adapt one base method into chunky, blended, creamy, or protein-added versions to suit different tastes and occasions.
FAQ
Can I make vegetable soup without a Thermomix-specific recipe?
Yes. Any standard vegetable soup recipe can be adapted by sautéing aromatics first, then simmering the remaining ingredients at a controlled temperature until tender.
Why did my creamy soup turn out thin?
This usually happens when there isn’t enough starchy vegetable or blending time; potato, and a longer blend, both add body.
Can I use frozen vegetables?
Yes, though they may release more water during cooking, which can slightly dilute the broth’s flavor unless simmered a bit longer to concentrate it.
How do I keep leafy greens from turning brown?
Add them in the final few minutes of cooking rather than at the start.