Getting a Thermomix for the first time can feel overwhelming. There is a large mixing bowl, a touchscreen, several accessories and more cooking functions than most beginners need immediately. A Thermomix is a multifunctional cooker and blender with an integrated scale, heated mixing bowl and adjustable blade speed. This guide explains how to use a Thermomix for beginners with both the TM6 and TM7. You will learn which accessories matter, whether Cookidoo is necessary, what to cook first and how to build practical skills during your first seven days.
Quick Summary
Start with Manual Mode or a few built-in recipes; a Cookidoo subscription is optional for basic manual cooking. Learn weighing and chopping first, followed by sauces, risotto, steaming and dough. Respect the 2.2-litre bowl limit and learn your model’s lid and steam-safety requirements. Both TM6 and TM7 are suitable for beginners.
What’s in the Box and What Matters on Day One
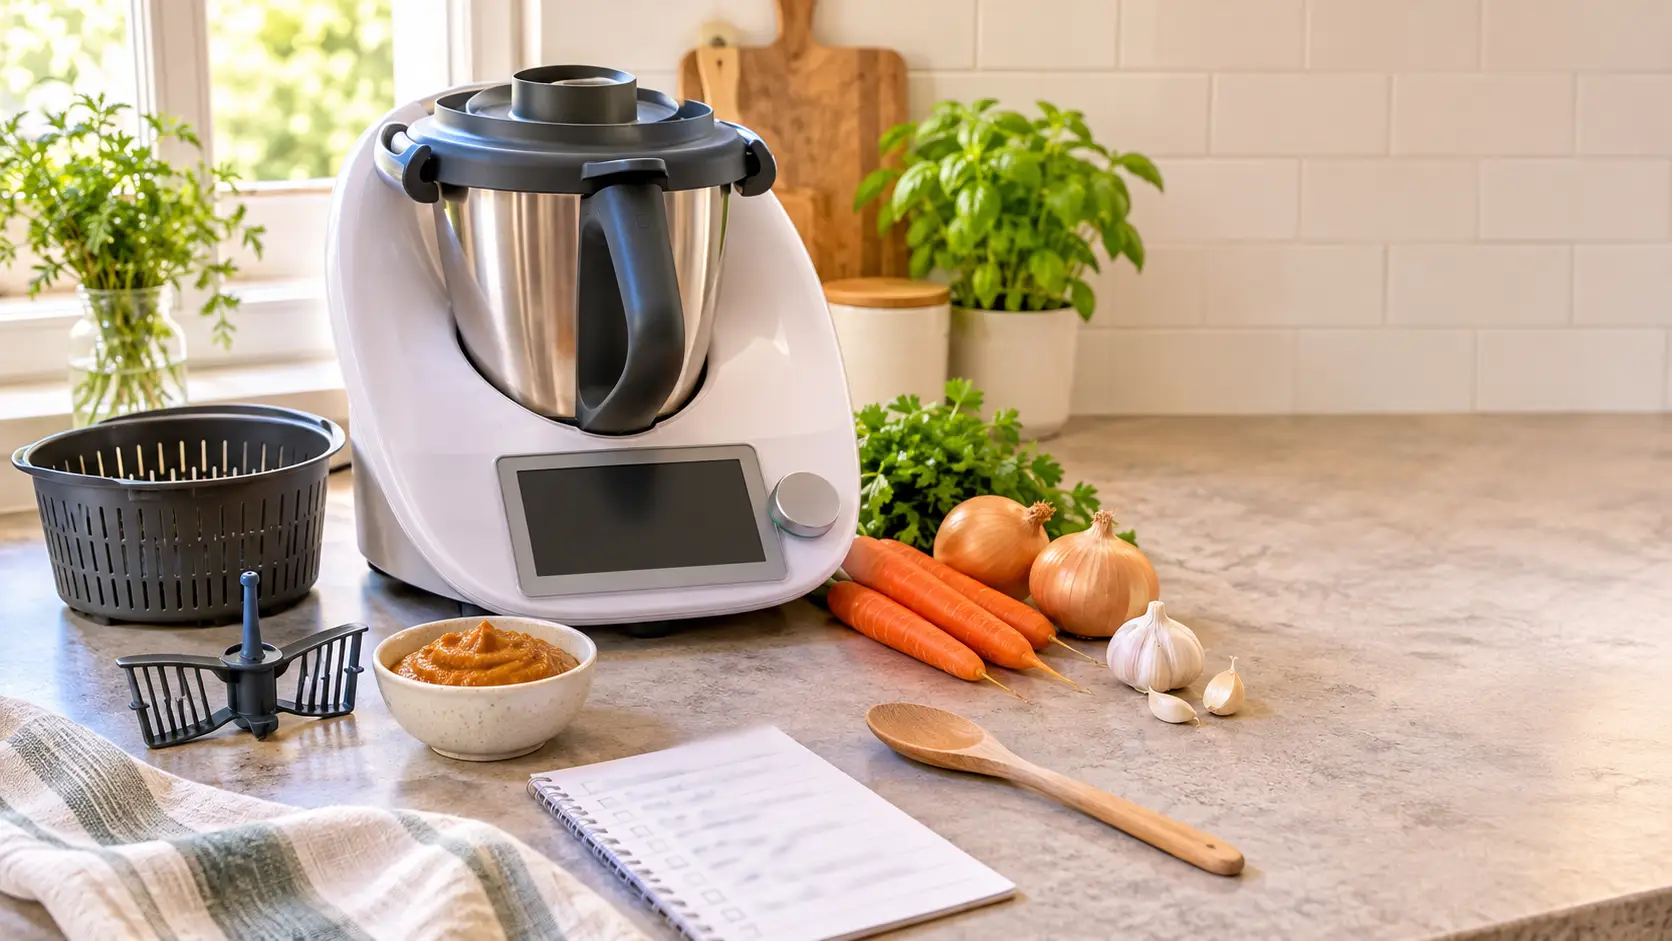
You do not need to learn every accessory immediately. Start with the mixing bowl and blade, bowl lid, simmering basket and butterfly whisk. The spatula and Varoma are also useful, but you can introduce steaming after you understand the basic controls.
| Accessory | What it does | Needed week one? |
| Mixing bowl and blade | Weighs, chops, mixes, heats and blends ingredients | Yes |
| Bowl lid and model-specific cover | Closes the bowl and supports safe operation | Yes |
| Simmering basket | Cooks certain foods and serves as a steam-permeable cover when instructed | Useful |
| Butterfly whisk | Helps with whipping and suitable gentle mixing tasks | Learn it, but not essential every day |
| Spatula | Scrapes, transfers and helps handle ingredients | Yes |
| Varoma set | Steams vegetables, fish and other foods above the mixing bowl | Introduce around day five |
The included accessories depend on the model and the purchase package. The TM6 has a measuring cup, while the TM7 uses a different lid-cap arrangement. Their bowl and Varoma accessories are not interchangeable, so always check the instructions for your actual machine. The butterfly whisk is compatible with both models. Vorwerk explains the differences in its Thermomix model and accessory compatibility guide.
Accessories you can ignore at first
Do not rush to buy additional bowls, specialist cutting attachments or optional accessories. First learn to weigh ingredients, chop evenly, cook a sauce and clean the bowl.
The Varoma is worth learning, but you do not need to begin with complicated multi-level steaming. A simple vegetable dish is enough for your first attempt.
Cookidoo or Manual Mode: Which Do You Actually Need?
You can use a Thermomix without paying for a Cookidoo subscription. Manual cooking allows you to select cooking time, temperature and speed, use reverse rotation where appropriate, and weigh ingredients with the built-in scale.
Cookidoo adds a large recipe library, guided instructions, recipe collections and meal-planning tools. It is particularly useful when you are unfamiliar with cooking techniques and want step-by-step guidance.
Vorwerk confirms that TM6 users can access manual cooking and modes without registering for Cookidoo. Its TM7 guidance also explains the manual and built-in recipe options available without a subscription. See the TM6 Cookidoo requirements and TM7 Cookidoo guidance.
| If you… | Choose… | Why |
| Already have a tested recipe | Manual Mode | You control the settings |
| Need step-by-step help | Cookidoo Guided Cooking | Instructions appear as you cook |
| Are learning basic functions | Manual Mode or built-in recipes | No immediate subscription commitment |
| Want meal planning and a large recipe library | Cookidoo | Adds digital recipe and planning features |
A practical approach is to learn Manual Mode first and try guided recipes when you want more structure. You can decide whether a subscription is worthwhile after cooking several meals.
Your First Week: A Day-by-Day Cooking Path
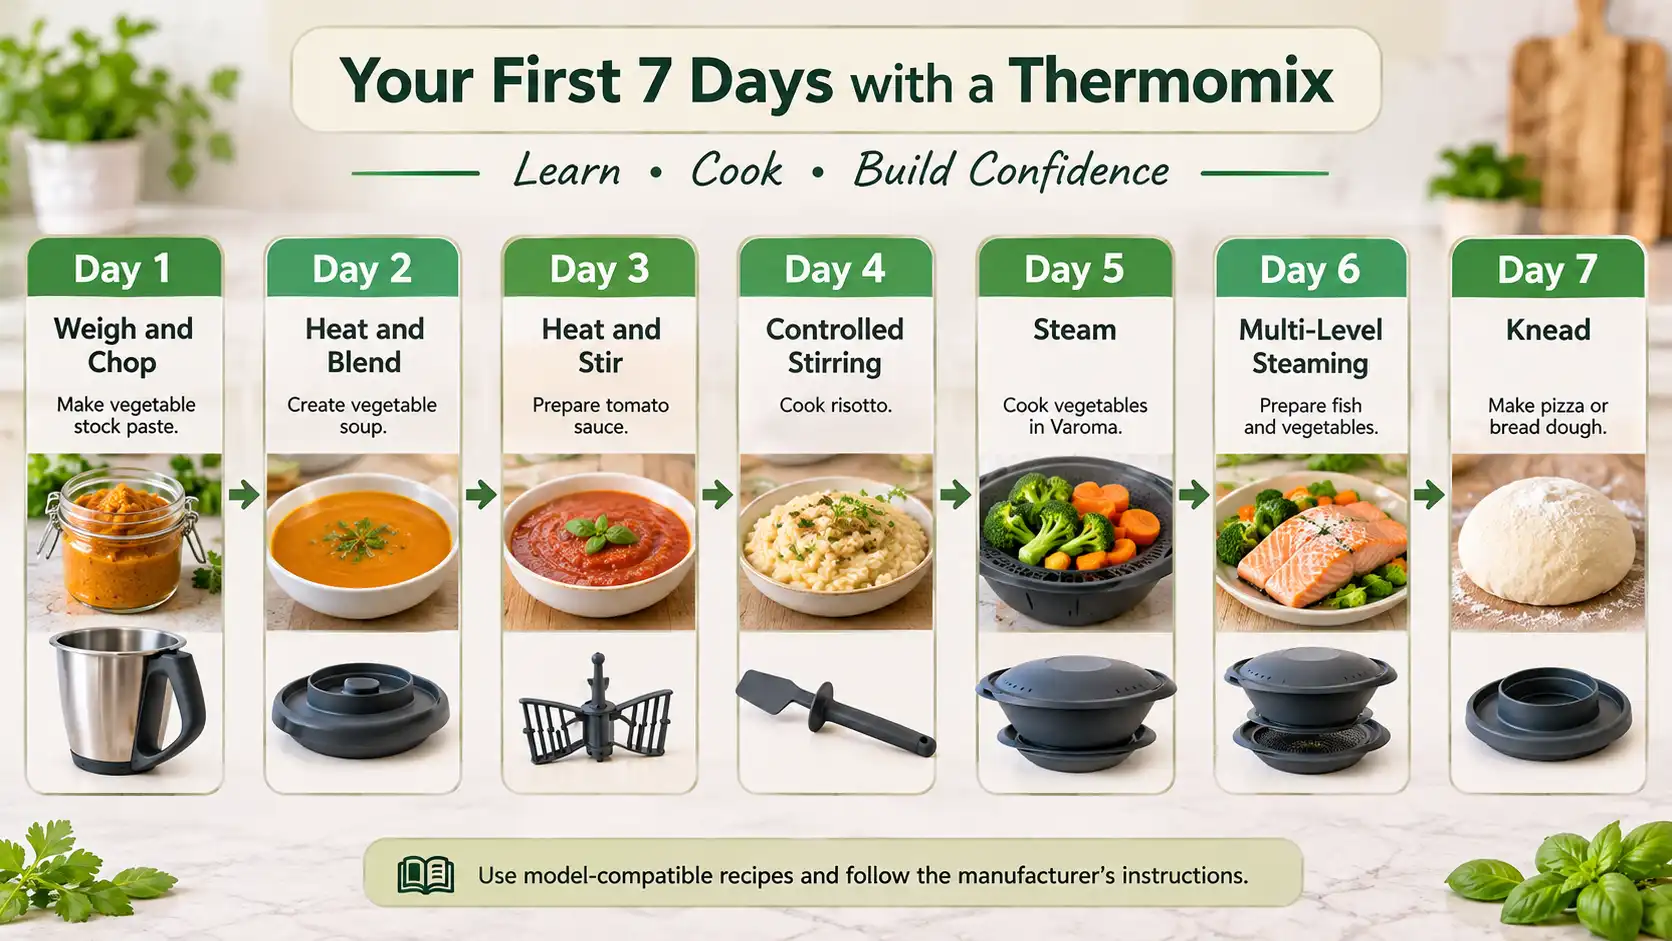
The easiest way to learn a Thermomix is to build skills in a logical order. Start with weighing and chopping, move to heating and stirring, then learn steaming and kneading.
| Day | Skill | Dish | Time | Watch-out |
| 1 | Weigh and chop | Vegetable stock paste | Recipe-specific | Weigh ingredients accurately |
| 2 | Blend and heat | Simple vegetable or pumpkin soup | Recipe-specific | Respect the maximum fill line |
| 3 | Heat and stir | Tomato or Bolognese sauce | Recipe-specific | Control liquid and consistency |
| 4 | Gentle stirring | Risotto or scrambled eggs | Recipe-specific | Follow the appropriate blade and whisk settings |
| 5 | Steam | Varoma vegetables | Recipe-specific | Leave steam openings unobstructed |
| 6 | Multi-level cooking | Fish with steamed vegetables | Recipe-specific | Distribute ingredients to allow steam circulation |
| 7 | Knead | Pizza or bread dough | Recipe-specific, plus proving | Use the correct Dough mode and batch quantity |
The seven-day sequence is a flexible learning plan rather than a strict timetable. Actual preparation and cooking times depend on the recipe, ingredient quantities, model and preparation method.
Days 1–2: Chop and weigh (stock paste, soup)
Begin with vegetable stock paste. It introduces the integrated scale and teaches you how the machine processes ingredients into a consistent mixture.
Next, make a simple soup. This is a useful beginner exercise because you learn to chop aromatics, add measured liquid, cook vegetables until tender and blend the finished dish.
A suitable follow-on is Kitchen Memo’s Thermomix pumpkin soup guide, which discusses controlling liquid and checking vegetable tenderness.
Days 3–4: Heat and stir (sauce, risotto, scrambled eggs)
Move on to a tomato sauce or Bolognese. Learn how cooking time, moisture and stirring affect the finished texture. The Thermomix Bolognese sauce guide explains the differences between finer and chunkier meat sauces.
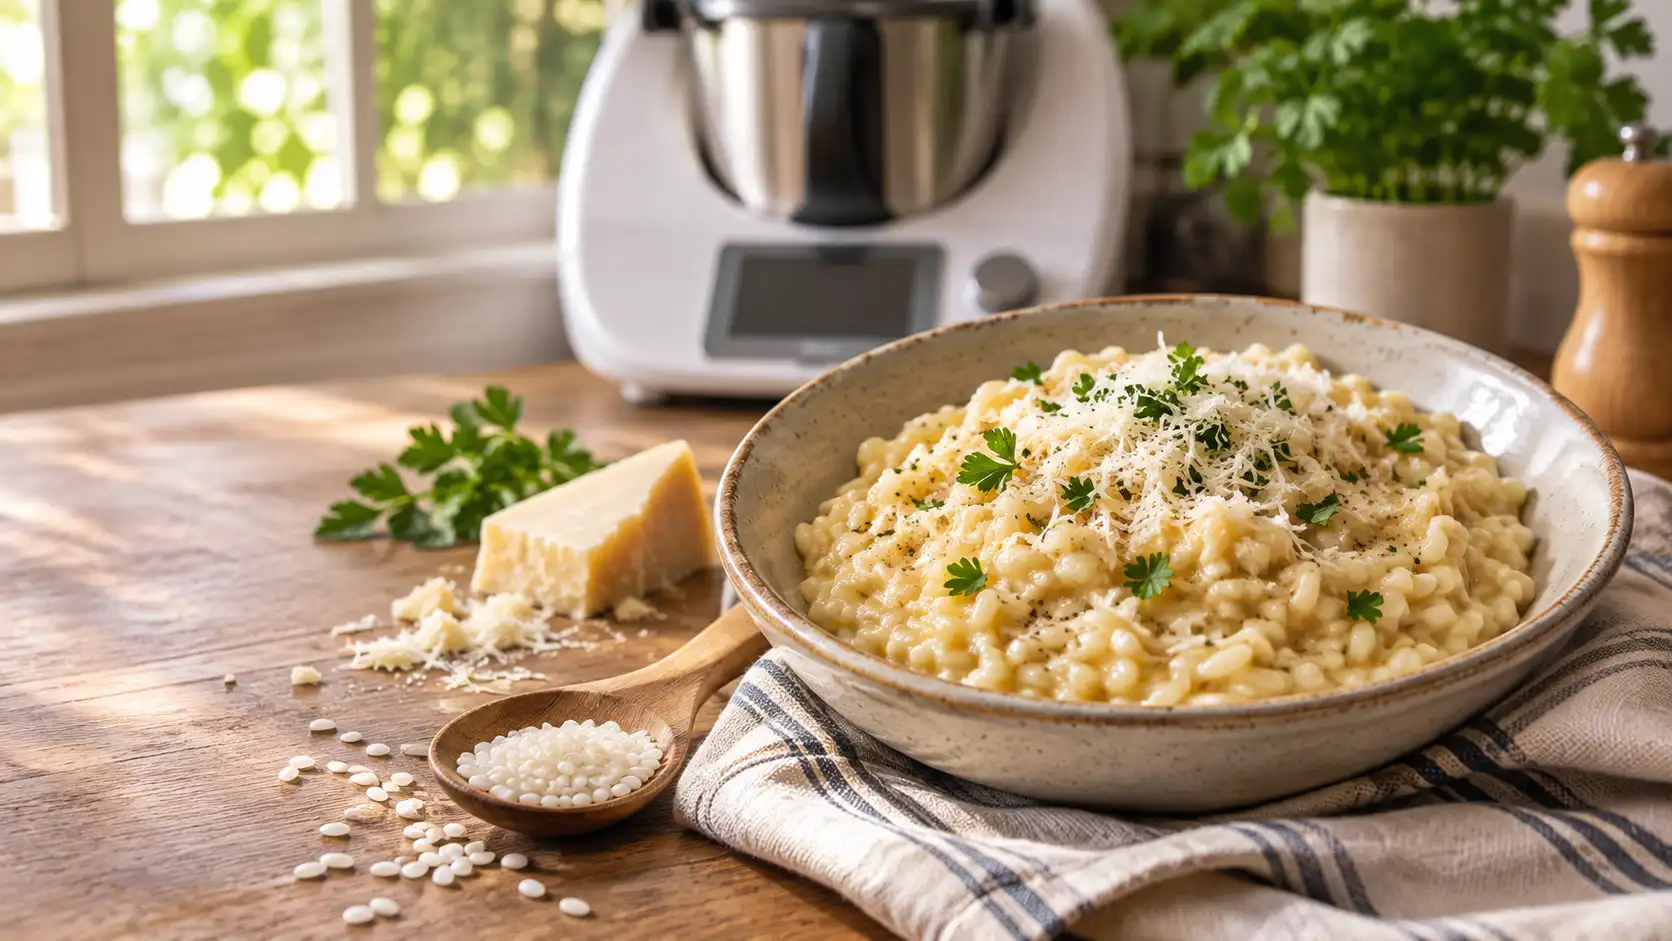
Risotto is another useful lesson because you learn controlled stirring and how ingredients absorb liquid. See the Thermomix risotto method.
Scrambled eggs are a convenient small practice dish. Use a compatible recipe rather than guessing at temperature and timing. Check the texture as the eggs cook, since personal preferences for soft, creamy or firmly set scrambled eggs can affect the preferred result.
Days 5–6: Steam (Varoma fish or vegetables, easy dinner)
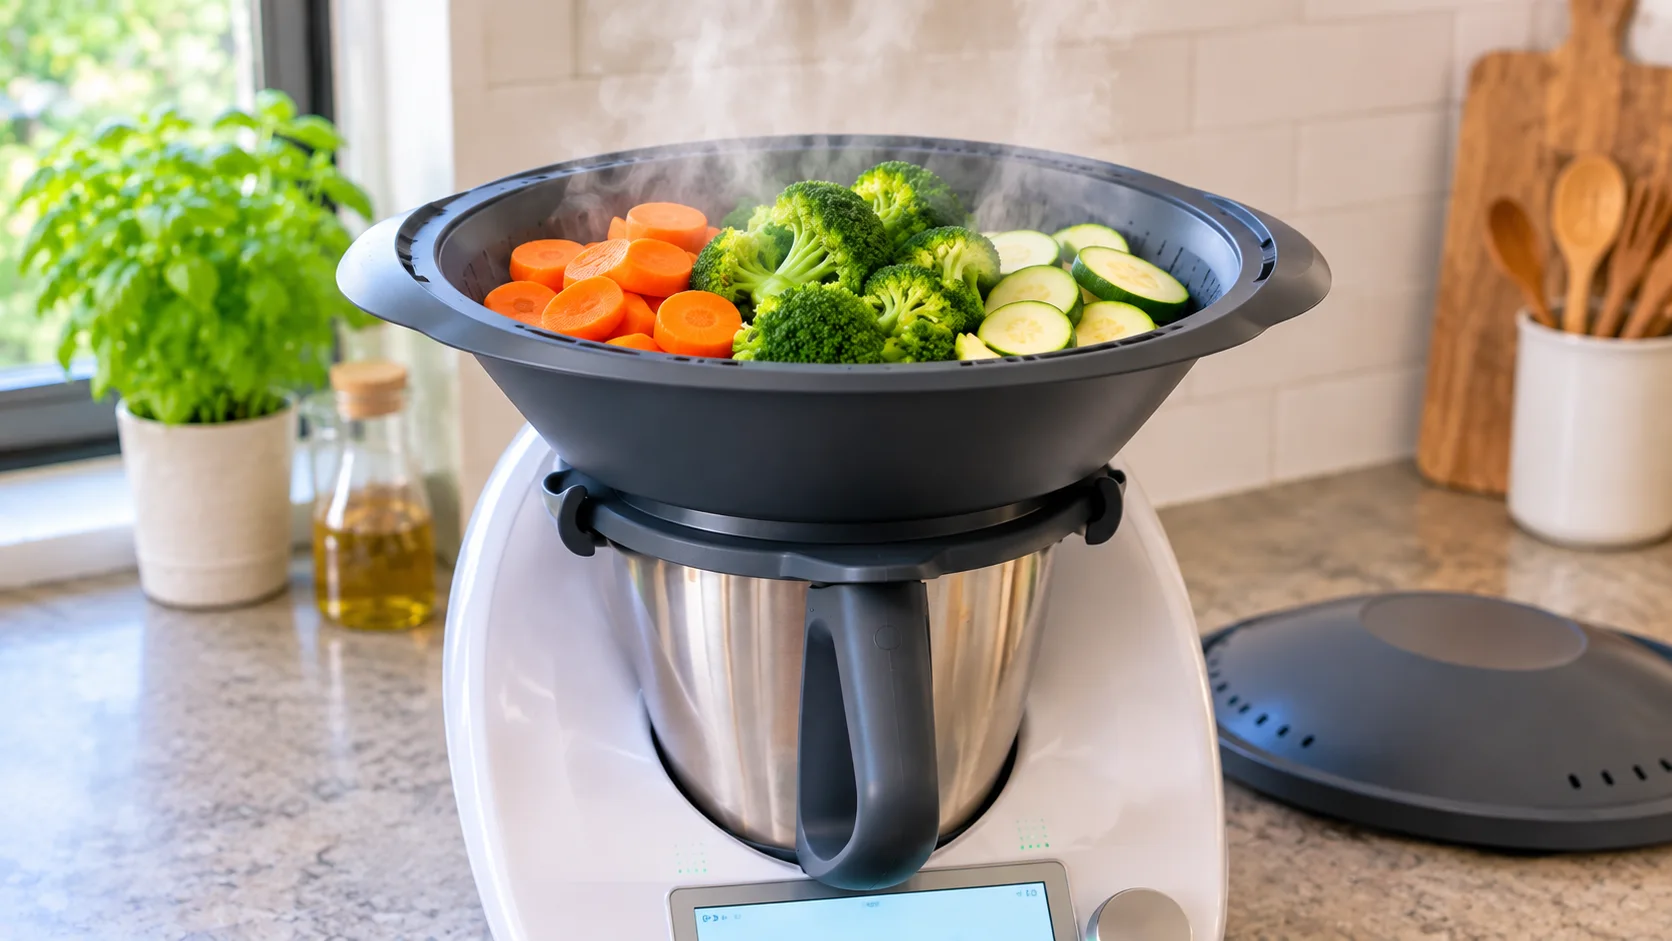
The Varoma introduces a different cooking technique: steam moves through the cooking trays to cook food placed above the mixing bowl.
Begin with vegetables, then try fish with vegetables when comfortable. Avoid packing the Varoma too tightly. Some openings must remain clear for steam circulation.
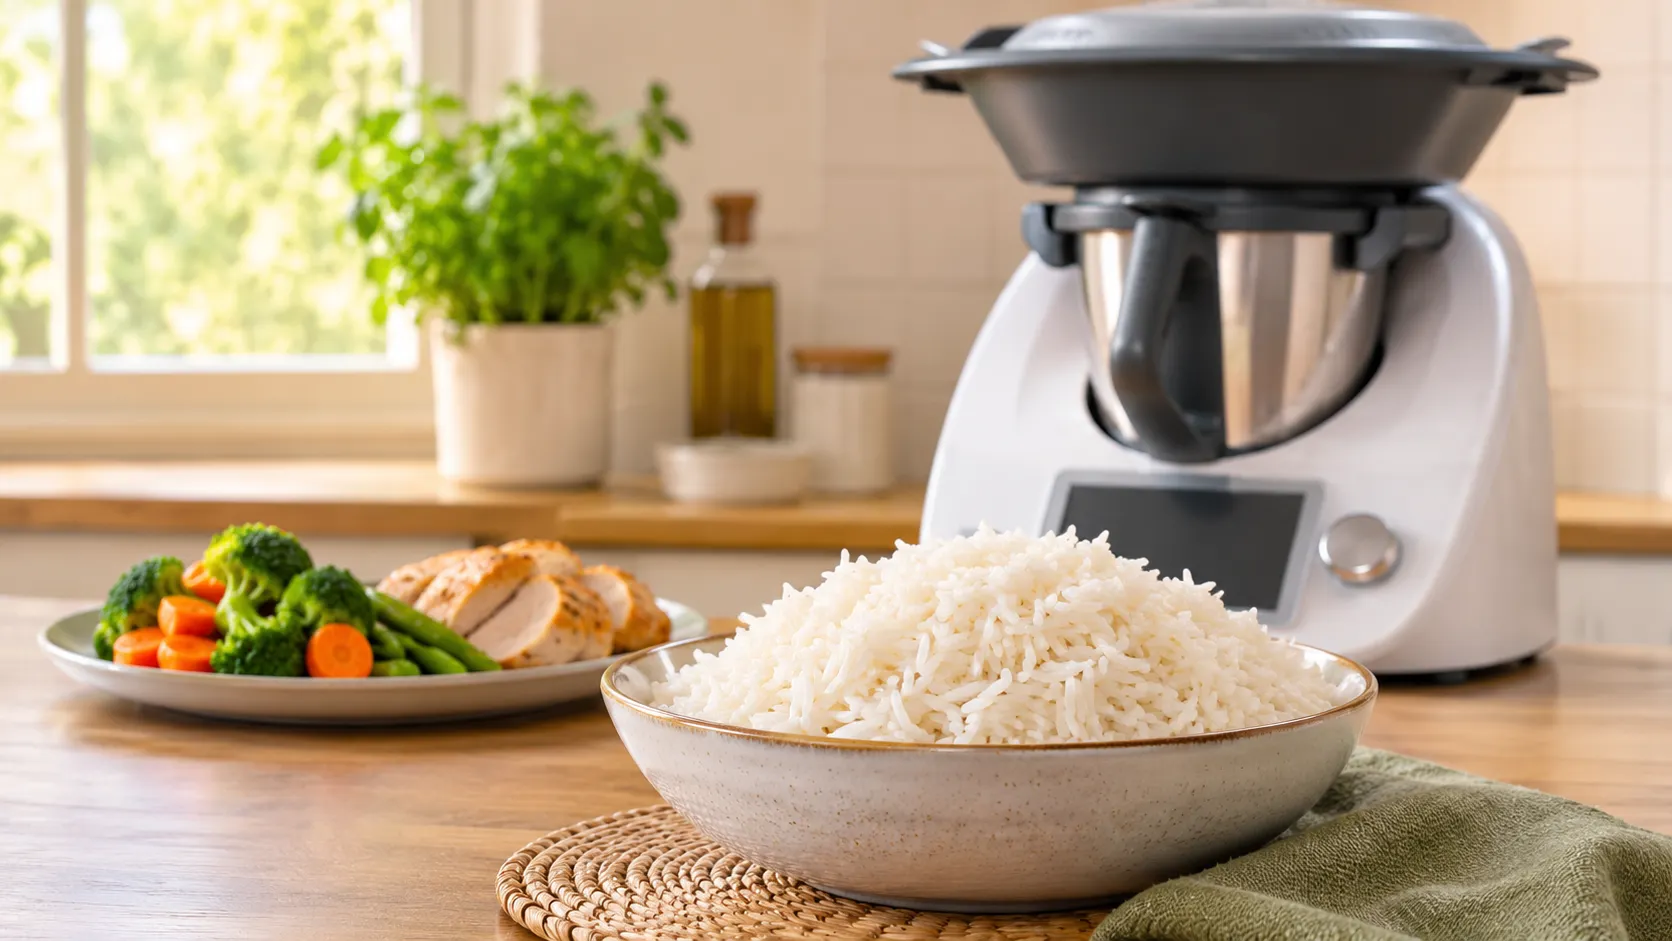
For another practical example, see Kitchen Memo’s Thermomix rice and Varoma guide.
Day 7: Knead (pizza or bread dough)
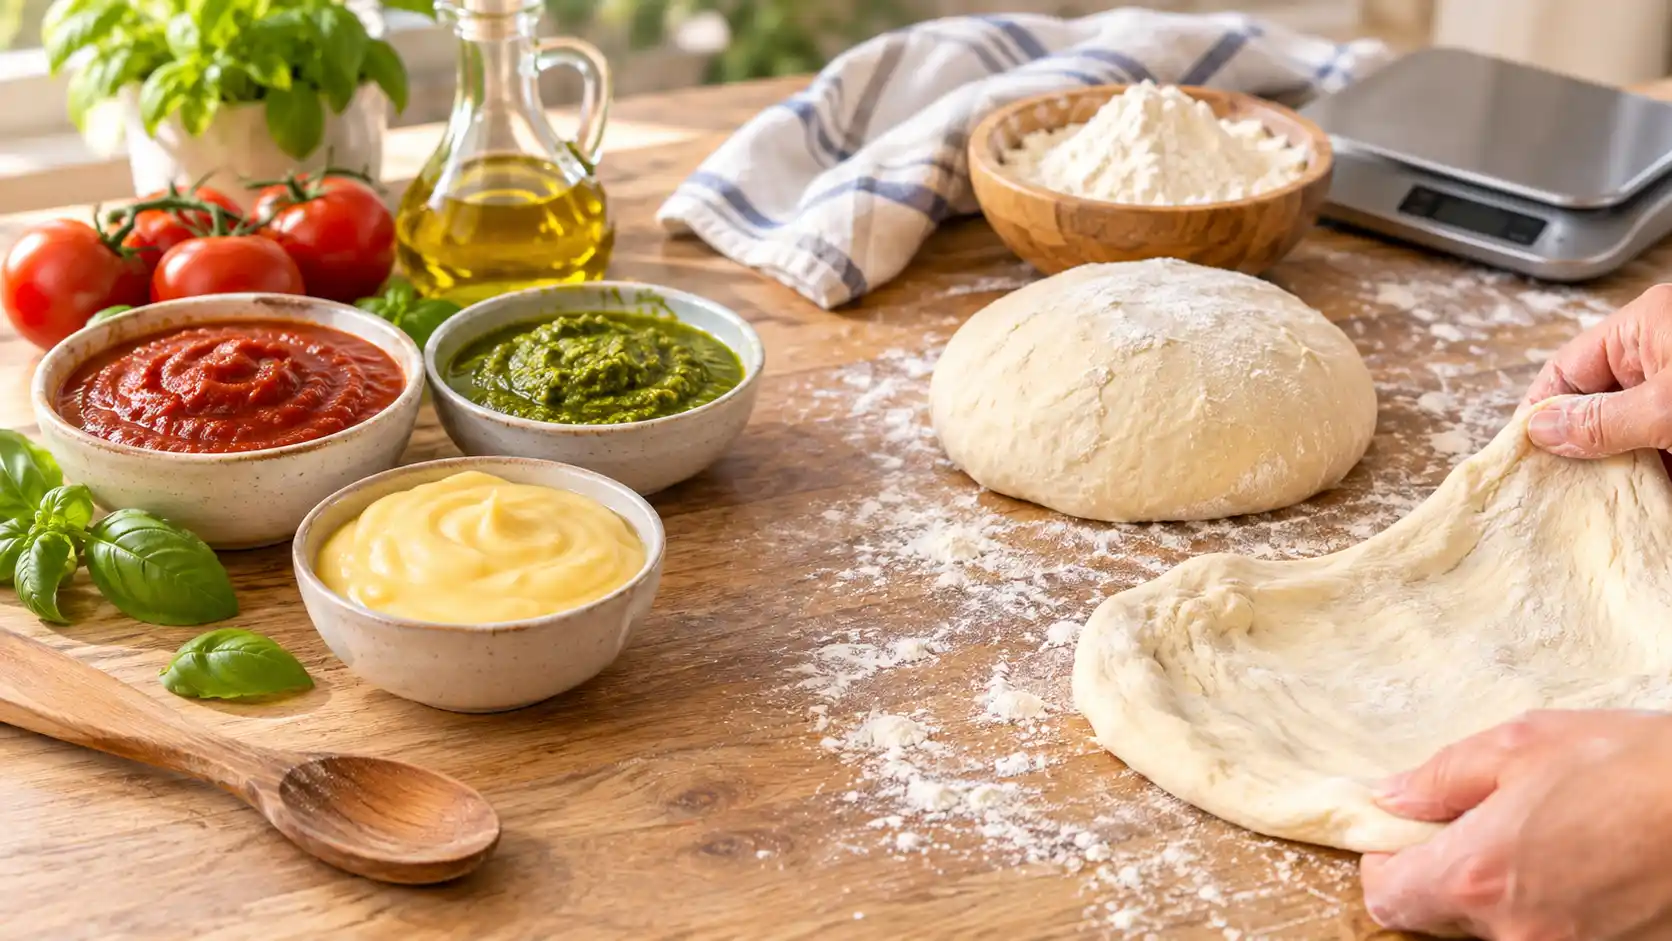
Finish the first week with dough. The Thermomix can weigh ingredients, combine them and knead dough using its dedicated Dough mode. You still need to prove, shape and bake the dough separately.
Start with a straightforward formula rather than experimenting with different hydration levels immediately. The Thermomix bread dough basics guide explains mixing, kneading, proving and troubleshooting.
Top 10 beginner-friendly meal candidates
These dishes provide a useful starting list for exploring different Thermomix functions. Choose recipes with straightforward ingredients, clear instructions and quantities suitable for your model.
- Pumpkin soup — practises chopping, heating and blending.
- French onion soup — introduces aromatic preparation and controlled cooking.
- Tomato sauce — teaches liquid management and consistency.
- Bolognese — introduces reverse rotation and texture control.
- Vegetable risotto — practises timed stirring.
- Steamed fish and vegetables — introduces Varoma cooking.
- Steamed mixed vegetables — a simple introduction to steaming.
- Lentil soup — combines weighing, chopping and simmering.
- Homemade pizza dough — teaches kneading.
- Homemade bread dough — practises Dough mode and proving.
What to ignore in week one: Advanced modes, elaborate multi-level meals, specialist accessories and complicated recipe conversions. Learn the basic functions before exploring everything the machine can do.
What Can (and Can’t) You Cook in a Thermomix?
A Thermomix is particularly useful for soups, sauces, risotto, steamed foods, custards, dough and frozen-fruit desserts. It can also perform chopping, grinding, mixing and other preparation tasks.
However, it has limitations. Its bowl has a defined capacity, steaming requires suitable arrangements and it does not function like a deep fryer or an air fryer.
The TM7 introduces Browning and Open Cooking features, while TM6 high-temperature cooking is restricted to compatible Guided Cooking recipes. These features improve versatility but do not make either machine a complete replacement for a frying pan or oven. Vorwerk’s TM7 feature comparison explains the newer cooking options.
Thermomix vs. air fryer
| Task | Thermomix | Air fryer |
| Smooth soups | Excellent use | Not its main strength |
| Sauces and risotto | Excellent use | Limited |
| Kneading dough | Yes | No |
| Steaming | Yes, using Varoma | Not equivalent to Varoma steaming |
| Crisping food surfaces | Limited | Excellent use |
| Roasting small portions | Not its main strength | Excellent use |
A Thermomix does not replace an air fryer. They solve different cooking problems and can work well together.
First-Week Mistakes: Why They Happen and How to Fix Them
Most early problems come from using too much food, misunderstanding an accessory or choosing unsuitable settings.
| Problem | Cause | Fix | Prevention |
| Overfilled bowl | Too much liquid or food | Reduce the batch | Respect the 2.2 L maximum |
| Incorrect lid arrangement | Mixing TM6 and TM7 instructions | Follow the correct model manual | Identify your lid and cover |
| Blocked Varoma holes | Food covers too many steam openings | Rearrange the ingredients | Leave openings unobstructed |
| Dough develops poorly | Incorrect mode or unsuitable batch | Use the model-specific Dough mode | Follow compatible recipe quantities |
| Sauce too thin or thick | Incorrect liquid balance | Adjust using an appropriate recipe method | Measure liquids carefully |
| Food stuck around the blades | Ingredients have collected around the knife area | Stop and clean according to the manual | Check preparation and bowl assembly |
One important safety distinction deserves attention. For the TM6 with its black measuring cup, Vorwerk instructs users to use the simmering basket instead of the cup when cooking or simmering at 95°C (200°F) and above, subject to the recipe’s instructions. For the TM7, its lid cap must be correctly fitted during cooking, except when the Varoma is being used. These are different arrangements, not interchangeable instructions. See the manufacturer’s TM6 measuring-cup safety announcement and TM7 lid-cap instructions.
Never exceed the bowl’s maximum level. Keep your hands away from moving blades and hot steam, and follow the instructions for removing the Varoma safely.
Cleaning, Noise and Everyday Reality
Rinsing the mixing bowl soon after cooking helps prevent food residue from drying around the blades. Clean the bowl, lid and accessories using the correct instructions for your model.
The TM7 also provides a Pre-Clean mode to help loosen remaining food before the bowl and knife are washed. Its manufacturer explains the recommended cleaning procedure in the TM7 cleaning guide.
The machine is audible when chopping and blending at higher speeds. Vorwerk describes the TM7 as quieter than previous models, particularly in lower-speed operation. That does not mean it is silent. Noise levels also depend on the task, speed setting and ingredients being processed.
TM6 vs. TM7: Does a Beginner Need to Care?
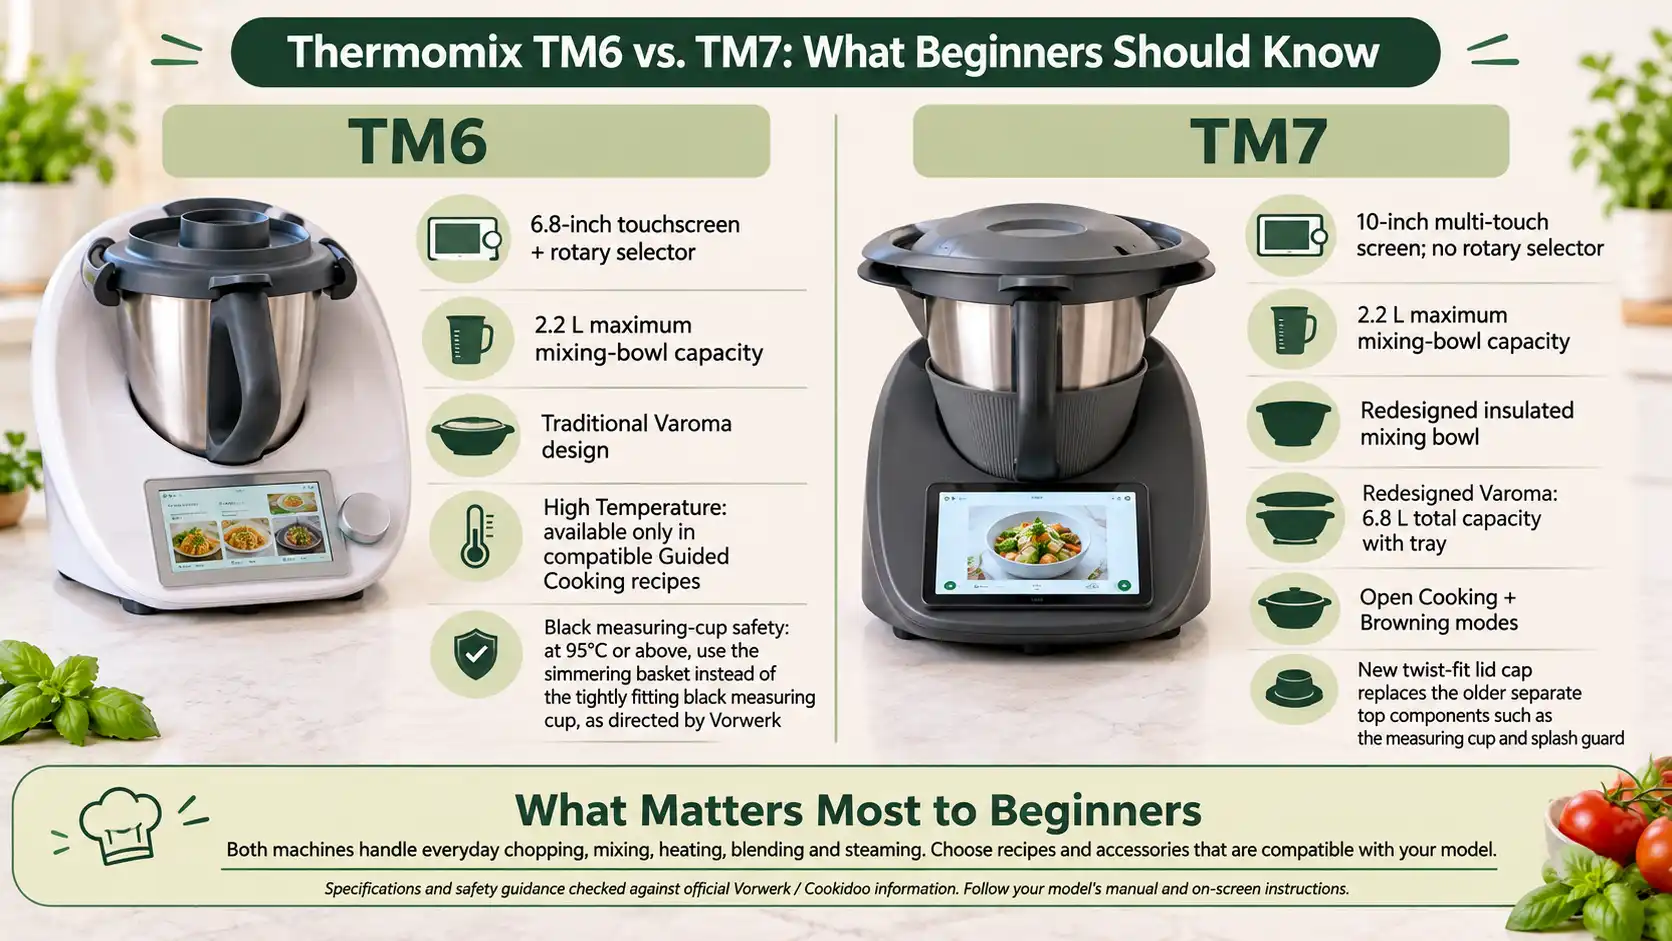
Both machines can handle the main tasks in this guide. A beginner does not need to master every newer feature to cook useful everyday meals.
| Feature | TM6 | TM7 | Matters to a beginner? |
| Mixing bowl maximum | 2.2 L | 2.2 L | Both have the same stated maximum |
| Display | Older touchscreen interface with rotary control | 10-inch touchscreen, no rotary knob | Mainly a navigation preference |
| Mixing bowl | Stainless-steel design | Redesigned insulated bowl | TM7 has a different design |
| Varoma | Older design, 4.7 L total capacity | Redesigned set, up to 6.8 L with tray | Useful for larger steaming loads |
| Browning | High-temperature function within compatible Guided Cooking recipes | Dedicated Browning feature | TM7 gives more flexibility |
| Open Cooking | Not available as a TM7 feature | Available up to 100°C without blade rotation | Useful for certain manual cooking tasks |
| Accessories | TM6-compatible accessories | Some redesigned TM7-exclusive accessories | Check compatibility before purchasing extras |
Vorwerk confirms the TM7’s 10-inch display, Open Cooking capability and redesigned bowl. Its technical specifications also confirm the 2.2 L bowl maximum and the redesigned Varoma capacity. Official TM7 technical specifications. Further details are available in its model compatibility information.
For a beginner, the important decision is how you intend to cook. If you already own a TM6, you can follow nearly all the basic lessons in this guide without upgrading. The TM7 offers additional features, but those extras are not essential for learning the fundamentals.
Is the Thermomix Worth It? Costs, Drawbacks and Lifespan
The Thermomix is most useful when you regularly prepare soups, sauces, risotto, steamed dishes and dough. Its integrated scale, heating and mixing functions can reduce the number of separate preparation steps.
It may be poor value if you mainly roast, grill or fry food, rarely make blended or stirred dishes, or frequently cook quantities larger than its bowl allows.
Consider the initial purchase price, possible Cookidoo subscription, optional accessories, counter space and the time required to learn the controls. Subscription offers and prices depend on your country and purchase package.
There is no responsible universal lifespan figure to give without reliable long-term service data. Maintenance, usage frequency, accessory condition, repair availability and the continued availability of replacement parts all influence how long a machine remains useful.
Conditions and Limits: When It Won’t Help
A Thermomix is less suitable for very large family batches, deep-frying, extensive grilling and dishes that depend on a crisp surface. It also requires counter space and an initial learning period. Expect your first few cooking sessions to be slower while you become familiar with the controls.
Conclusion
The best way to learn a Thermomix for beginners is to follow a simple first-week sequence: stock paste, soup, sauce, steaming and dough. Start with Manual Mode, learn your model’s safety instructions and add Cookidoo only when guided cooking offers enough value. Build confidence through ordinary meals rather than trying every feature immediately.
First-week checklist
- Identify your machine and accessories.
- Read the relevant safety instructions.
- Practise using the integrated scale.
- Make a simple soup and sauce.
- Learn the Varoma.
- Try the Dough mode.
- Rinse and clean the bowl correctly.
- Record your own results and cooking times.
FAQs
1. How do I use a Thermomix for the first time?
Start by weighing ingredients, selecting suitable time, temperature and speed settings, and making a simple soup or sauce.
2. Do I need Cookidoo to use a Thermomix?
No. Manual cooking is available without a subscription on both TM6 and TM7.
3. Can a Thermomix make scrambled eggs?
Yes. Use a compatible scrambled-egg recipe and follow its specified settings. Check the eggs’ consistency before serving and adjust the method to your preferred texture.
4. Can I make ice cream in a Thermomix?
Yes. Frozen-fruit recipes can produce an ice-cream-style dessert. The final texture depends on the ingredients, freezing conditions and blending method.
5. Can a Thermomix peel potatoes?
Yes, with the compatible Blade Cover & Peeler accessory and the appropriate model-specific procedure. It is not a basic blade function.
6. What can’t you cook in a Thermomix?
It is not designed to replace deep-frying, air frying or every form of high-heat surface browning.
7. How long does a Thermomix last?
There is no universal verified lifespan range. Actual longevity depends on use, maintenance and access to replacement parts and servicing.